
You’ve found your tapes and you’d like to turn them into a more accessible format. Fantastic! That’ll help preserve those memories for years to come. Next, you’ve got to decide whether to do it yourself at home or outsource to a service. We say, doing it yourself is the best way. It’ll save you a bunch plus if you choose the right software, you’ll get that professional quality each time. So choosing the right software is key but don’t worry, we’ve got you covered, we’ll let you in on your favourite one.
What You’ll Need
- Digitising tapes at home is easier than you might think. Here’s a simple list of what you’ll need:
- Player: Depending on the type of tape, you’ll need a VHS player, a camcorder, or a tape deck.
- A Digital Converter: This device connects your tape player to your computer.
- A Computer: Both Mac and PC work fine.
- Software
Step-by-Step Guide to Digitising Your Tapes
Step 1: Set Up Your Equipment
First things first, set up your tape player and get your cables. Connect the tape player to the computer using the firewire cable. If the firewire port isn’t available, you’ll need a thunderbolt-firepower adaptor.
Step 2: Install the software
Next, download and install the software on your computer
Step 3: Insert Your Tape
Place your tape into the player and rewind it to the beginning
Step 4: Open the software
Launch it on your computer. The software should usually automatically detect your tape player. You’ll see a preview window where you can view the tape’s content.
Step 5: Start Digitising
The software will capture the video in real-time.
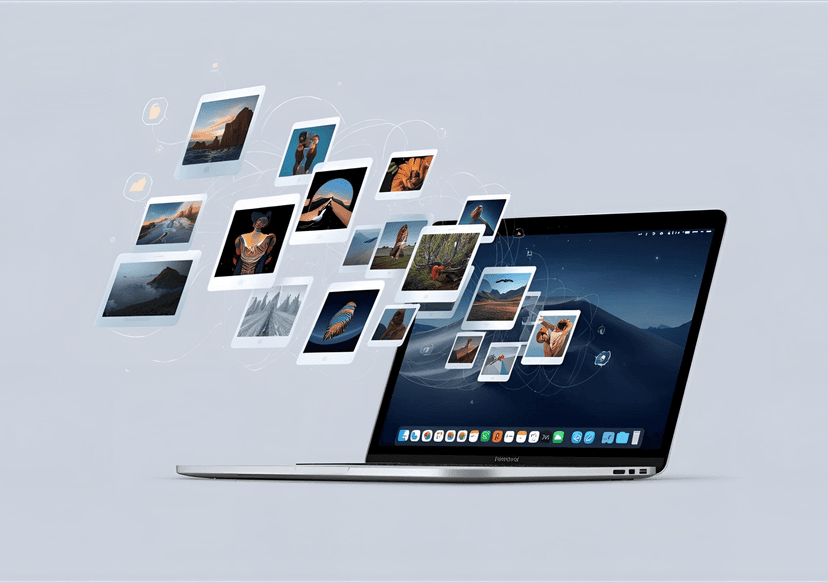
Step 6: Save and Share
Once the digitisation is complete, it will save the video file to your computer. From here, you can edit, share, or simply rewatch your tapes.
For the software, we recommend Lifeflix. It’s simple, easy to use, gets the job done, produces consistently high-quality results and is affordable. Here’s why:
- User-Friendly: Lifeflix is designed to be simple.
- Quality: The software ensures high-quality video capture
- Organisational Features: Lifeflix allows you to add titles, tags, and descriptions, making it easy to find and enjoy your videos later.
- Customer Support: Lifeflix offers excellent customer support to make the process as smooth as can be
It’s a lot easier digitising your tapes at home, saves you time and is the more convenient option. Add to that all the advantages of Lifeflix and it’s a seamless process and maybe even an enjoyable one.
Most Popular
Join Our LifeFlix Community
Enter Your Email Address to Sign Up for Exclusive Updates!
Own your
memories
forever
withLifeFlix!
Related Blogs
Best Media Library for Mac: Why LifeFlix Library Leads in 2026
Discover why LifeFlix Library is the best media library software for Mac in 2026, with smart AI tagging, powerful imports, and modern macOS organizati...
Read More ➜
Digital Media Libraries: How to Choose the Right Storage Tool Part 2
In Part 2 Discover why Library by LifeFlix is the best digital media management tool for macOS. Smart AI tagging, cloud backup, and seamless media org...
Read More ➜