LifeFlix v4.2.5 Toolbar and Functions: Import, Scene Actions, Sharing, Sorting, Search, and Playback Features Explained
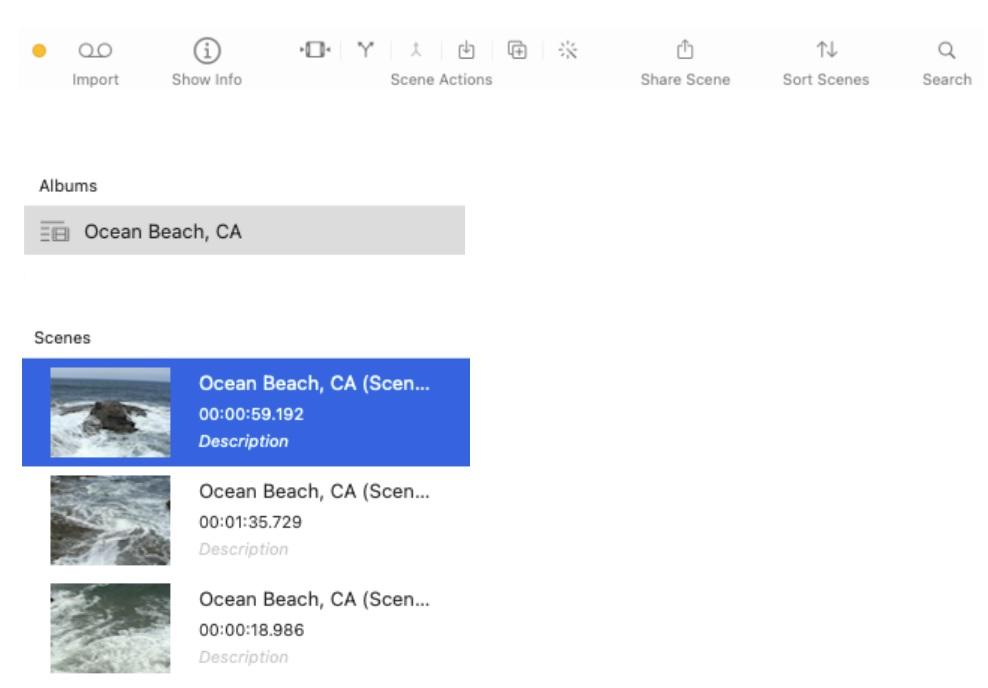
Toolbar
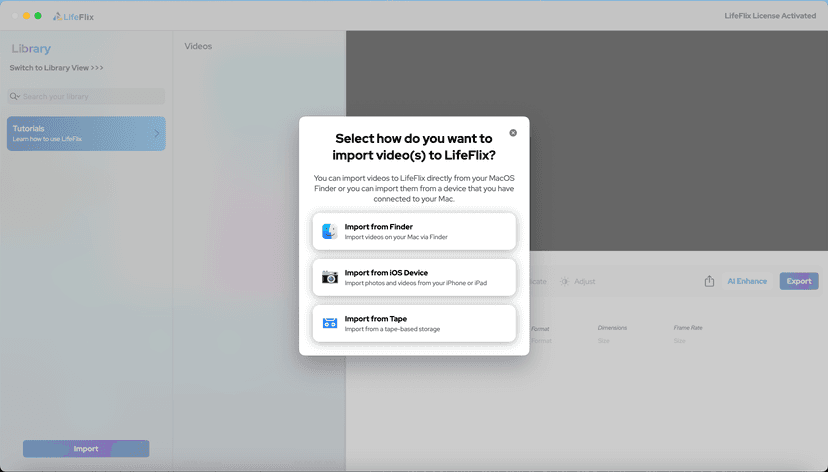
- Import: Click to launch the Import interface. Please read our article [Import Interface](#) to read more about this workspace. Yellow Dot: Indicates no device is connected. Green Dot: Indicates a device is connected and can be imported from.
- Show Info: Click while an album or scene is selected to get a small blurb of its metadata. Interact with any of the text boxes to edit the data.
- Scene Actions Trim: Click while a scene is selected to trim down to a new length. Split: Click while a scene is selected to create a new scene from any moment in the footage. Combine: Click while more than one scene is selected. Scenes will be combined and create a new scene. Export: Click while an album or scene is selected. It will then launch the export window for that album or scene. Exporting an album will function as a bulk export for all the scenes in that album. Video Adjustments: Click while a scene is selected to make quick video adjustments such as contrast, hue, sharpness, etc. Share Scene: Click while a scene is selected to share the footage via Apple Messenger, Email, Photos, Notes, AirDrop, or Freeform. Sort Scenes: Click while an album is selected to sort your scenes by Name, Date, or Author in either ascending or descending order. Search: Search your albums and scenes by name. Matching results will be filtered onto the “Albums” and “Scenes” areas.

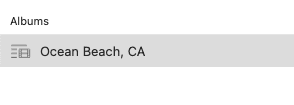
Albums
- All imports are stored in an album which contains scenes that are your captured footage.
- Scenes are segments of footage that were captured from your import.
- If you wish to create a new album, you’ll need to begin a new import.
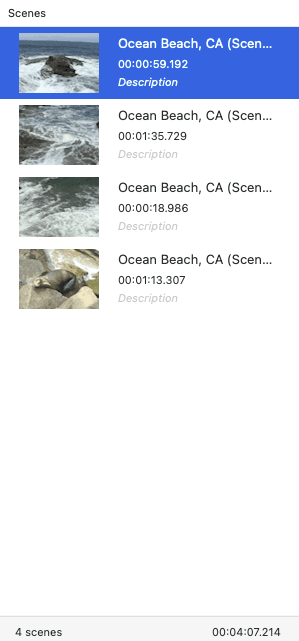
Scenes
- An album may contain one or more scenes.
- Scenes can be reorganized by clicking and dragging them.
Playback
- The monitor in this area can be used to preview and edit your footage.
- Use the play button to play your footage.
- Once the footage begins to play, the play button will become a pause button and can be used to pause the footage.
- The buttons next to the play button will adjust the playback speed.
- You may drag the playhead marker to change the current timestamp of your footage.
- Use the volume slider to control the master volume of your playback.
- You may also fullscreen your playback.
Most Popular
Join Our LifeFlix Community
Enter Your Email Address to Sign Up for Exclusive Updates!
Own your
memories
forever
withLifeFlix!
Related Guides
Your First Steps in Library: Installation, Setup & Importing
Step-by-step guide to using Library by LifeFlix. Install the free trial, import from tape, Finder, or iPhone, and manage your media with ease.
Read More ➜

Introducing Library — The Digital Media Solution for 2025
In today’s digital world, creators and everyday users alike are surrounded by endless photos, videos, and files — yet managing them efficiently still ...
Read More ➜