Lifeflix is an user-friendly, no fuss robust mac app that’s cost efficient and easy to use, making digitisation accessible and easy for everyone. The goal was simple, affordably priced, and easy to use and does what it's supposed to, that is in essence- Lifeflix.
WHAT LIFEFLIX CAN DO
Just a few key points to sum up the process and explain what Lifeflix can do
- A straightforward interface simplifies the transfer process. You only need to connect your camcorder to your Mac via FireWire and you are on your way!
- Automatic scene detection, based on recording times, helps you organize and edit your footage like a pro.
- Basic editing tools let you trim and split scenes to create a polished final product.
- High-resolution output that ensures your restored footage maintains its original quality.
- You can now import video files directly from your hard drive, supporting "mov," "mp4," and "m4v" formats for added flexibility.
- Colour correction, as restored footage often has problems with colour inconsistencies, Lifeflix helps solve these with an intuitive colour correction tool
- Old footage can be shaky so Lifeflix’s stabilisation feature smooths it out, giving a more cleaned, professional final cut.
- Includes a noise reduction feature that helps clean up grainy footage, helping to make it look cleaner and more polished.
- Super easy to share after editing is done. Footage can be exported in various formats or directly uploaded to social media platforms.
SYSTEM REQUIREMENTS
Operating system
- MacOS 10.10 or later
- Lightning USB=C/ Thunderbolt 2 port
Lifeflix versions and their required operating systems
- LifeFlix v3.6: Operating System later than Lion, prior to Ventura
- LifeFlix v4: Operating System later than Monterey
Memory
- 4GB RAM(8GB recommended)
Storage
- At least 10GB of free space
EQUIPMENT
- Camcorder- the device used to record?play the tapes
- Tapes to be digitised
- Lifeflix prefers Firewire for importing from old DV camcorders because USB ports on these camcorders typically only transfer still images or lower quality video. If you really need to use USB, you’ll need a video capture device/ video convertor box
Cables
- Firewire 800 Cable (9 Pin Male to 4 Pin Male)
- Thunderbolt- firewire adaptor if your mac doesn’t have a firewire port
- Apple Thunderbolt 3 (USB-C) to Thunderbolt 2 Adaptor - This cable is required for Mac devices that only have USB-C ports available.
1. SETTING UP
Using USB Cable
1) Plug the AV cables into the camcorder and the USB video capture device.
2) Insert the USB video capture device into your computer’s USB port.
3) Turn on your camcorder and set it to playback mode.
Using Firewire Cable
- Connect your camcorder to your computer using the firewire cable. If your computer doesn’t have a firewire port, you’ll need a thunderbolt-firewire adaptor.
Make sure all connections are secure to avoid disruptions during the digitization process.
2. INSTALLING LIFEFLIX
1) Head to the Lifeflix website and download the latest version of the app.
2) Once you have made the payment, a confirmation link with the download link to the software will be sent to your email. Open the downloaded file and follow the on-screen instructions to install Lifeflix on your computer.
3) Once installed, open Lifeflix.
Installation is straightforward and typically takes just a few minutes.
- If using Lifeflix v1,2,3 you are not able to update to version 4 directly from the application (LifeFlix v3.6 has an update button, but will only update to 3.6 if they are on an earlier version of 3). Therefore, we recommend you to test the latest version for free to confirm it works on your Mac device before you commit to purchasing.
- But what if LifeFlix v4 is not for your good old Mac? Not a problem! You gain access to a complimentary license to LifeFlix v3.6 with any purchase of LifeFlix v4. We do this since some users are on older Macs that would only support an older version of our software.
- With the release of V5, we have made a few changes. Lifeflix now comes with a licence that you’d need to use it. There’s the perpetual licence which is a one time payment of $99 that will only give you access to the current version of lifeflix, not to any features we’ll be adding later on. While there’s also the annual subscription option of $49 per year which gives you access to the current version plus any future versions.
- Apart from these, we’ve developed a new product that can be purchased and used as an add on. More details will come later, but in short, it is an AI Video Enhancer tool that’ll identify all those problems that need fixing and do it for you.
CONNECTING YOUR EQUIPMENT
Now that you have got everything ready, let’s start with connecting your camera to your Mac.
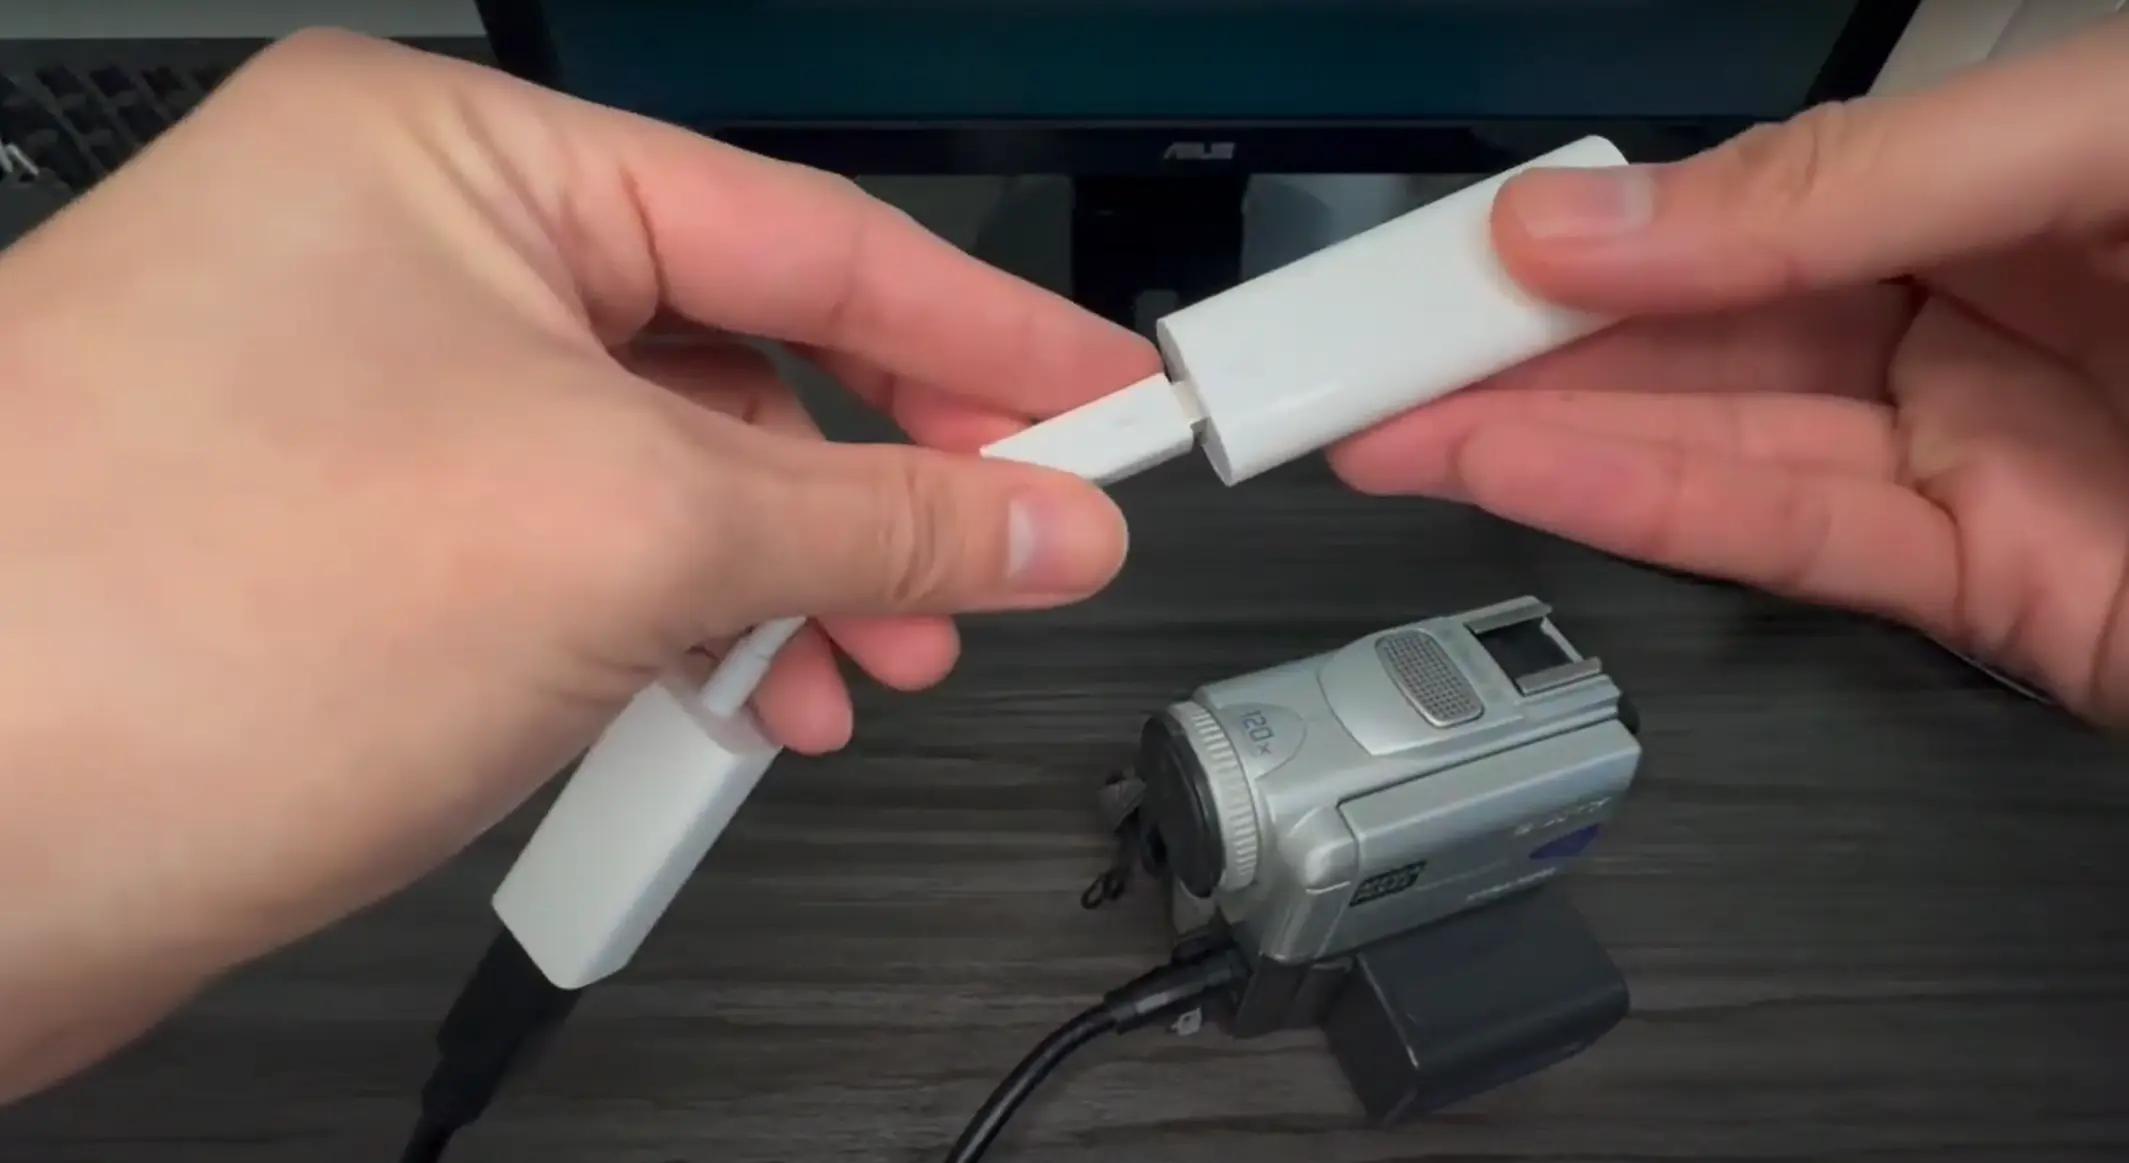
1) First, you need a 9-pin to 4-pin Firewire cable, which is plugged directly into your DV camcorder. You'll plug this into the first adaptor, a Thunderbolt 2 to Firewire adaptor.
2) You then plug this into the second adaptor, a Thunderbolt 3 (USB-C) to Thunderbolt 2 adaptor.
If you need to learn how to set up the cables, where to what, go check out our video tutorial.
3. GETTING STARTED
Now that Lifeflix is installed, let’s get it connected to your camcorder.
1) Start the Lifeflix application.
2) Make sure your camcorder is connected and turned on. Lifeflix should automatically detect the device.
3) If you see a list of devices, choose your camcorder from the options
4) Insert the tape you want to digitize into your camcorder.
5) Start playing the tape on your camcorder.
6) On Lifeflix, click the "import" button to start recording the video. When you select “import from tape,” a dialogue box pops up, to make sure you have a connected device before getting started
7) Monitor Progress: Watch the video as it’s being captured in real-time on Lifeflix.
8) Stop Capture: When you’ve got all the footage you need, click "Stop." Lifeflix will save the video to your library.
9) Once the footage is captured, you may preview it with playback controls in the monitor to check for any issues. Then, you can select “Keep” to close and store their capture in the Library (this will close the import window). You may also select “Discard” to delete the captured footage.
Capturing is done in real-time so a 60-minute tape will take approximately 60 minutes to digitize.
As of LifeFlix v4.2.5, when footage is discarded, it will close the import window, this forces you to re-enter any tape info again if they want to attempt another capture with the same footage.
IMPORT WINDOW USES
- Automatically create a new scene when a segment is detected
- Compress footage to save space
- Rewind tape to beginning
- Automatically play footage from the device when capture starts
- Capture will end automatically if the end of tape is detected. The capture can also end if the “Stop Capture” is clicked.
You can also watch and follow our video demonstration of how we captured footage from a Hi8 Camera.
4. EDITING(OPTIONAL)
Click on the "Edit" tab in LifeFlix to access the editing tools. Here, you'll find - options to trim your videos, adjust colors and exposure, and apply other enhancements.
Basic Editing
1) In the Lifeflix library, choose the video you want to edit.
2) Trim: Use the trim tool to remove unwanted parts from the beginning or end of the video.
- To trim a video, select it from the list of imported videos and click on the "Trim" button. Use the sliders to adjust the start and end points of the video until you're satisfied with the selection.
3) Split: Divide the video into smaller segments if necessary.
Advanced Editing
1) Add Titles: Use the "Titles" tab to add text overlays such as names, dates, or captions
2) to your video.
3) Transitions: Apply smooth transitions between clips for a professional touch.
4) Adjust Colours: Fine-tune the brightness, contrast, and saturation to enhance your video’s visual quality.
- To enhance the colours or exposure of a video, click on the "Adjust" button. Here, you can adjust brightness, contrast, saturation and other parameters to achieve the desired look.
- Once you're happy with the edits and enhancements, click the "Save" or "Export" button to apply the changes to the video.
MANAGING YOUR LIBRARY
Keeping everything organised will help you find what you need quickly.
1) Organize: Create folders and subfolders to categorize your videos by date, event, or theme.
2) Rename: Rename your videos for easier identification.
3) Tagging: Add tags to videos, making searches more efficient.
A well-organized library means more time enjoying your videos and less time looking for them
6 .RESTORING DIGITISED TAPES
Lifeflix provides restoration tools to enhance the quality of your old footage. Here’s how to restore it:
Basic Restoration
1) Stabilize: Use the stabilization tool to reduce any shakiness.
2) Noise Reduction: Apply noise reduction to eliminate grains and other visual noise.
Advanced Restoration
1) Colour Correction: Restore faded colours with advanced colour correction tools.
2) Audio Enhancement: Improve audio quality by reducing background noise and adjusting volume levels
You can make your life easier and just skip this step entirely by purchasing Lifeflix AI that will do the job for you. Don’t waste your time, let the AI handle it.
7. EXPORTING/SHARING
1) Click the "Export" button to save your video to your computer.
2) Choose your export settings (resolution, format, etc.). LifeFlix offers an exporter tool that allows you to convert your videos to MOV format. Select the desired format from the dropdown menu and adjust any other settings as needed.
3) Lifeflix lets you share directly to social media platforms or via email by clicking the “share” button.
- Make sure your videos are safely backed up by storing them on an external hard drive or cloud storage service. This provides an extra layer of protection against loss or damage.
8. COMMON ISSUES
Sometimes things don’t go as planned. Here are solutions to some common problems
Camcorder Not Detected
- Solution: Check that all cables are securely connected and that your camcorder is powered on. Trying a different USB port might also help
Video Quality Issues
- Solution: Double-check your capture settings and make sure you’re using the highest quality settings available.
Audio Sync Issues
- Solution: Use the audio sync tool in Lifeflix to align the audio with the video
If you run into any issues, don’t stress. With a bit of patience, you’ll have those problems sorted out in no time but if you’re still having problems, contact Lifeflix’s helpful support team.
By following this comprehensive guide, you should be able to successfully convert your old tapes to a digital format.
Most Popular
Join Our LifeFlix Community
Enter Your Email Address to Sign Up for Exclusive Updates!
Own your
memories
forever
withLifeFlix!
Related Guides

How to Upgrade from the Free Version to a Paid Subscription
Before purchasing, download and test the free trial to ensure LifeFlix works with your device. The trial allows you to:
Read More ➜

Using LifeFlix on Older macOS Versions
Use LifeFlix on older macOS versions with these downloads and activation steps.
Read More ➜
