
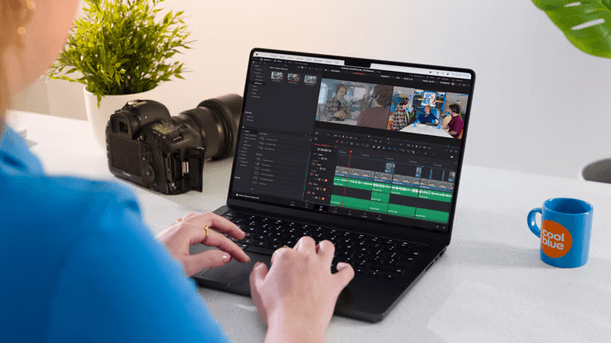
Easily trim scenes in LifeFlix v3.6 by adjusting markers on the timeline and clicking "Trim".
How it works
Any scene that is archived by LifeFlix v3.6 can be trimmed from the main interface. The playback monitor will display the footage of any selected scene and be accompanied by a timeline.
- The blue bar indicates the current length of your footage. Each end of the blue bar has a marker. You can hold and drag the marker on the left side to create a new starting point for your footage. You can do the same with the marker on the right to create a new ending point.
Once your new duration has been set, click the “Trim” button on the right to trim. When you trim your footage, it will overwrite the currently selected scene with the new trimmed duration.
Note: Any scenes that have been trimmed can be identified by the trim icon from the “Scenes” area.
Most Popular
Join Our LifeFlix Community
Enter Your Email Address to Sign Up for Exclusive Updates!
Own your
memories
forever
withLifeFlix!
Related Guides
How to Upgrade from the Free Version to a Paid Subscription
Before purchasing, download and test the free trial to ensure LifeFlix works with your device. The trial allows you to:
Read More ➜
Using LifeFlix on Older macOS Versions
Use LifeFlix on older macOS versions with these downloads and activation steps.
Read More ➜