Welcome to Lifeflix v4.2.5!
Hi! We're glad you chose Lifeflix. It's packed with new features and improvements to make your digitization process smoother and more enjoyable. A comprehensive guide through the basics to the advanced features to get you on your way.
System Requirements
First, let’s make sure your setup meets the requirements:
- Operating System: macOS 10.12 or later
- Hardware: Compatible video capture device (like a DV/HDV camcorder or an analog-to-digital converter)
- Software: Lifeflix v4.2.5
Installation
- Head to lifeflix.com and download the latest version.
- Follow the on-screen instructions to install Lifeflix.
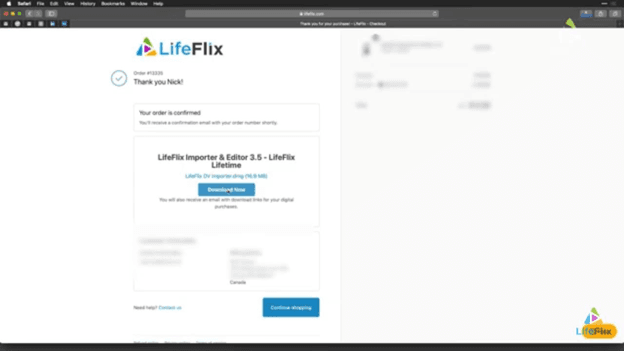
3. Once installed, open Lifeflix and you're good to go!
Digitizing Your Film
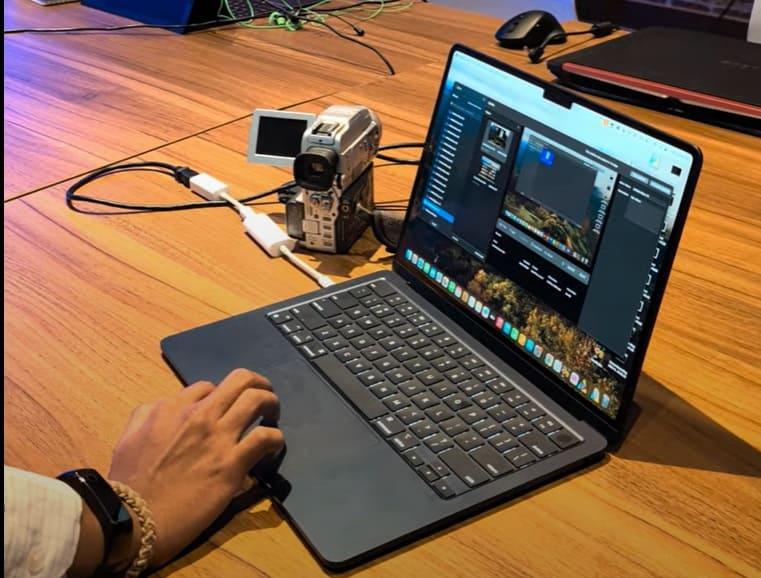
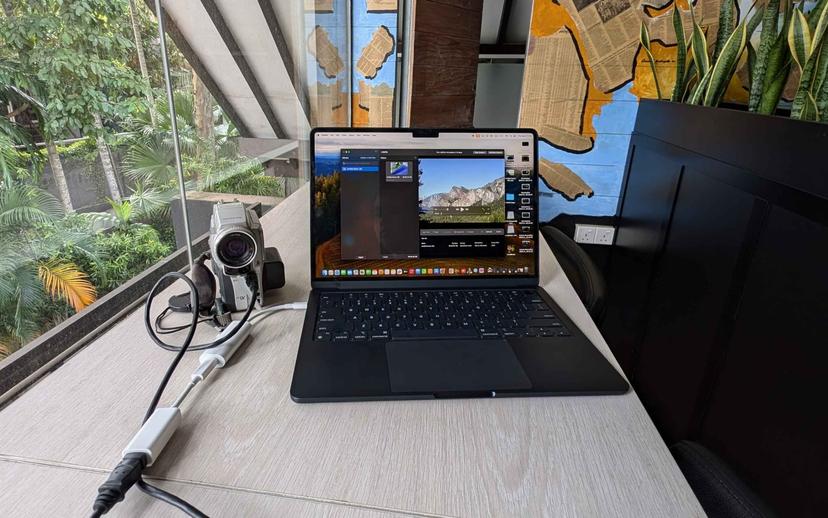
Step 1: Connect Your Video Capture Device
- Use the right cables (like FireWire or USB) to connect your video capture device to your computer.
- Turn on the device and set it to playback mode.
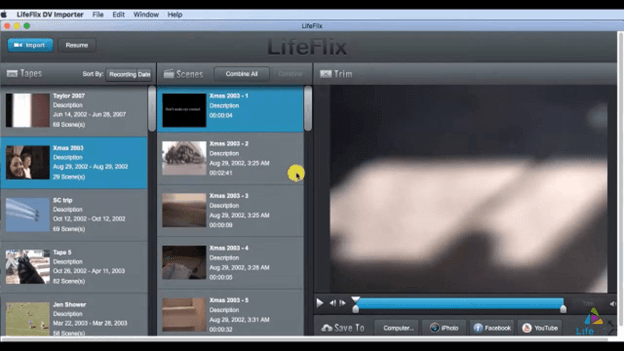
Step 2: Importing Videos
- Open Lifeflix and Click the "Import" button.
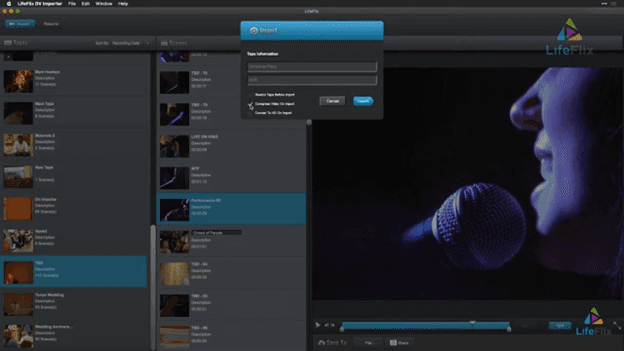
2. Select Device and Choose your video capture device from the list.
3. Click on "Start Import". Lifeflix will begin capturing the video from your device.
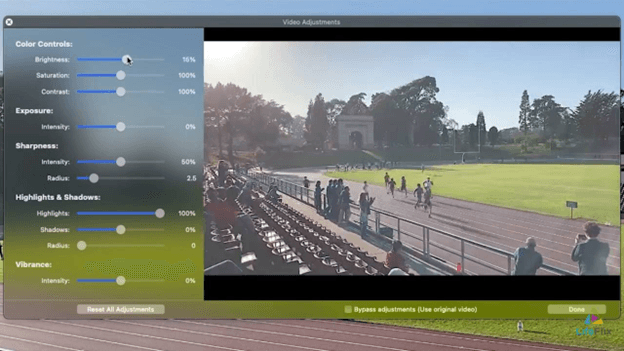
Step 3: Adjusting Video Settings
- Click on “Show Video Adjustments" icon on the toolbar.
- Adjust any Settings:
Colour: Fix any colour issues.
Exposure: Adjust the brightness.
Sharpness: Sharpen the video.
Highlights & Shadows: Improve contrast.
Vibrance: Improve the colours.
The video needs to be playing for changes to be seen. Adjustments don’t show up if the video is paused since it will loop during these tweaks.
3. Non-Destructive Edits: the original clip stays unchanged. Use the "Bypass" button to see the video without the adjustments.
Step 4: Importing Entire Folders
- Go to the "Import" button and select "Import Folder."
- Pick the folder with your video files. Lifeflix will import all the videos from that folder.
Step 5: Managing Duplicate Scenes
- Finding Duplicates: Use the "Duplicate Scenes" feature.
- Remove or organize duplicates.
Step 6: Handling Crashes
- Automatic Saving: If Lifeflix crashes, it automatically saves any unattached movies in an “Orphaned Movies” album.
- Recover Work: Go to the "Orphaned Movies" album to reattach those movies.
Advanced Features
Combining Clips
- Select the clips you want to combine.
2. Click the "Combine" button to merge them into a single file. Perfect for creating continuous videos from multiple segments!
Transcoding Options
- Select your video format during import:
H.264: The default and most versatile option.
Uncompressed DV/DVCPRO or HDV: For higher quality, but it results in larger files.
Batch Capture
- Turn on batch capture to import multiple tapes without stopping.
- Automatic Detection: Lifeflix will recognize when a tape stops, pauses, or rewinds, making the process easier for you.
Handling Various Formats
- Supported Formats: Lifeflix handles MiniDV, HDV, Digital8 (D8), Hi-8, and Video8.
- VHS Tapes: Connect a MiniDV camera to a VHS deck, then connect the camera to your Mac via FireWire. Note: This workaround may have issues and isn't officially supported.
Importing Videos from Your Hard Drive
- Choose a tape in Lifeflix.
- Import Files: Go to File > Import Movie Files. Select your video files (.mov, .mp4, .m4v) to add them to your Lifeflix collection.
Need Help?
If you have any questions or run into any issues, don't hesitate to reach out. Enjoy digitizing and preserving your precious memories!
Most Popular
Join Our LifeFlix Community
Enter Your Email Address to Sign Up for Exclusive Updates!
Own your
memories
forever
withLifeFlix!
Related Guides
Using LifeFlix on Older macOS Versions
Use LifeFlix on older macOS versions with these downloads and activation steps.
Read More ➜
LifeFlix Version 5
Lifeflix v4.2.5 simplifies digitizing and editing old tapes with intuitive tools, advanced features, and easy importing for preserving your memories.
Read More ➜