Whether it's a collection of cherished family memories, valuable personal milestones, or significant historical footage, transitioning to a digital format will not only help you preserve these treasures but also make them easily accessible and shareable. Even if you’re new to this, this guide is crafted to make the entire process straightforward and enjoyable.
1. Introduction to Lifeflix
Lifeflix is a user-friendly software designed to help you convert your old tapes into digital files seamlessly. Whether your tapes are VHS, Hi8, or MiniDV, it supports a wide array of tape formats. Beyond just capturing video, Lifeflix offers tools for editing, organizing, and restoring your footage.
Imagine watching your wedding video or your child's first steps with crystal clear quality. Lifeflix helps make that dream a reality by breathing new life into your old footage.
2. System Requirements
Before getting into the digitization process, make sure your computer meets the following system requirements so Lifeflix will run smoothly:
- Operating System: macOS 10.10 or later
- Processor: Intel Core i5 or higher
- Memory: 4GB RAM (8GB recommended)
- Storage: At least 10GB of free space
- Firewire/USB Port: For connecting your camcorder
With these specifications, you're equipped to handle the demands of video processing and enjoy a seamless experience with Lifeflix.
3. Setting Up Your Equipment
Here's everything you'll need:
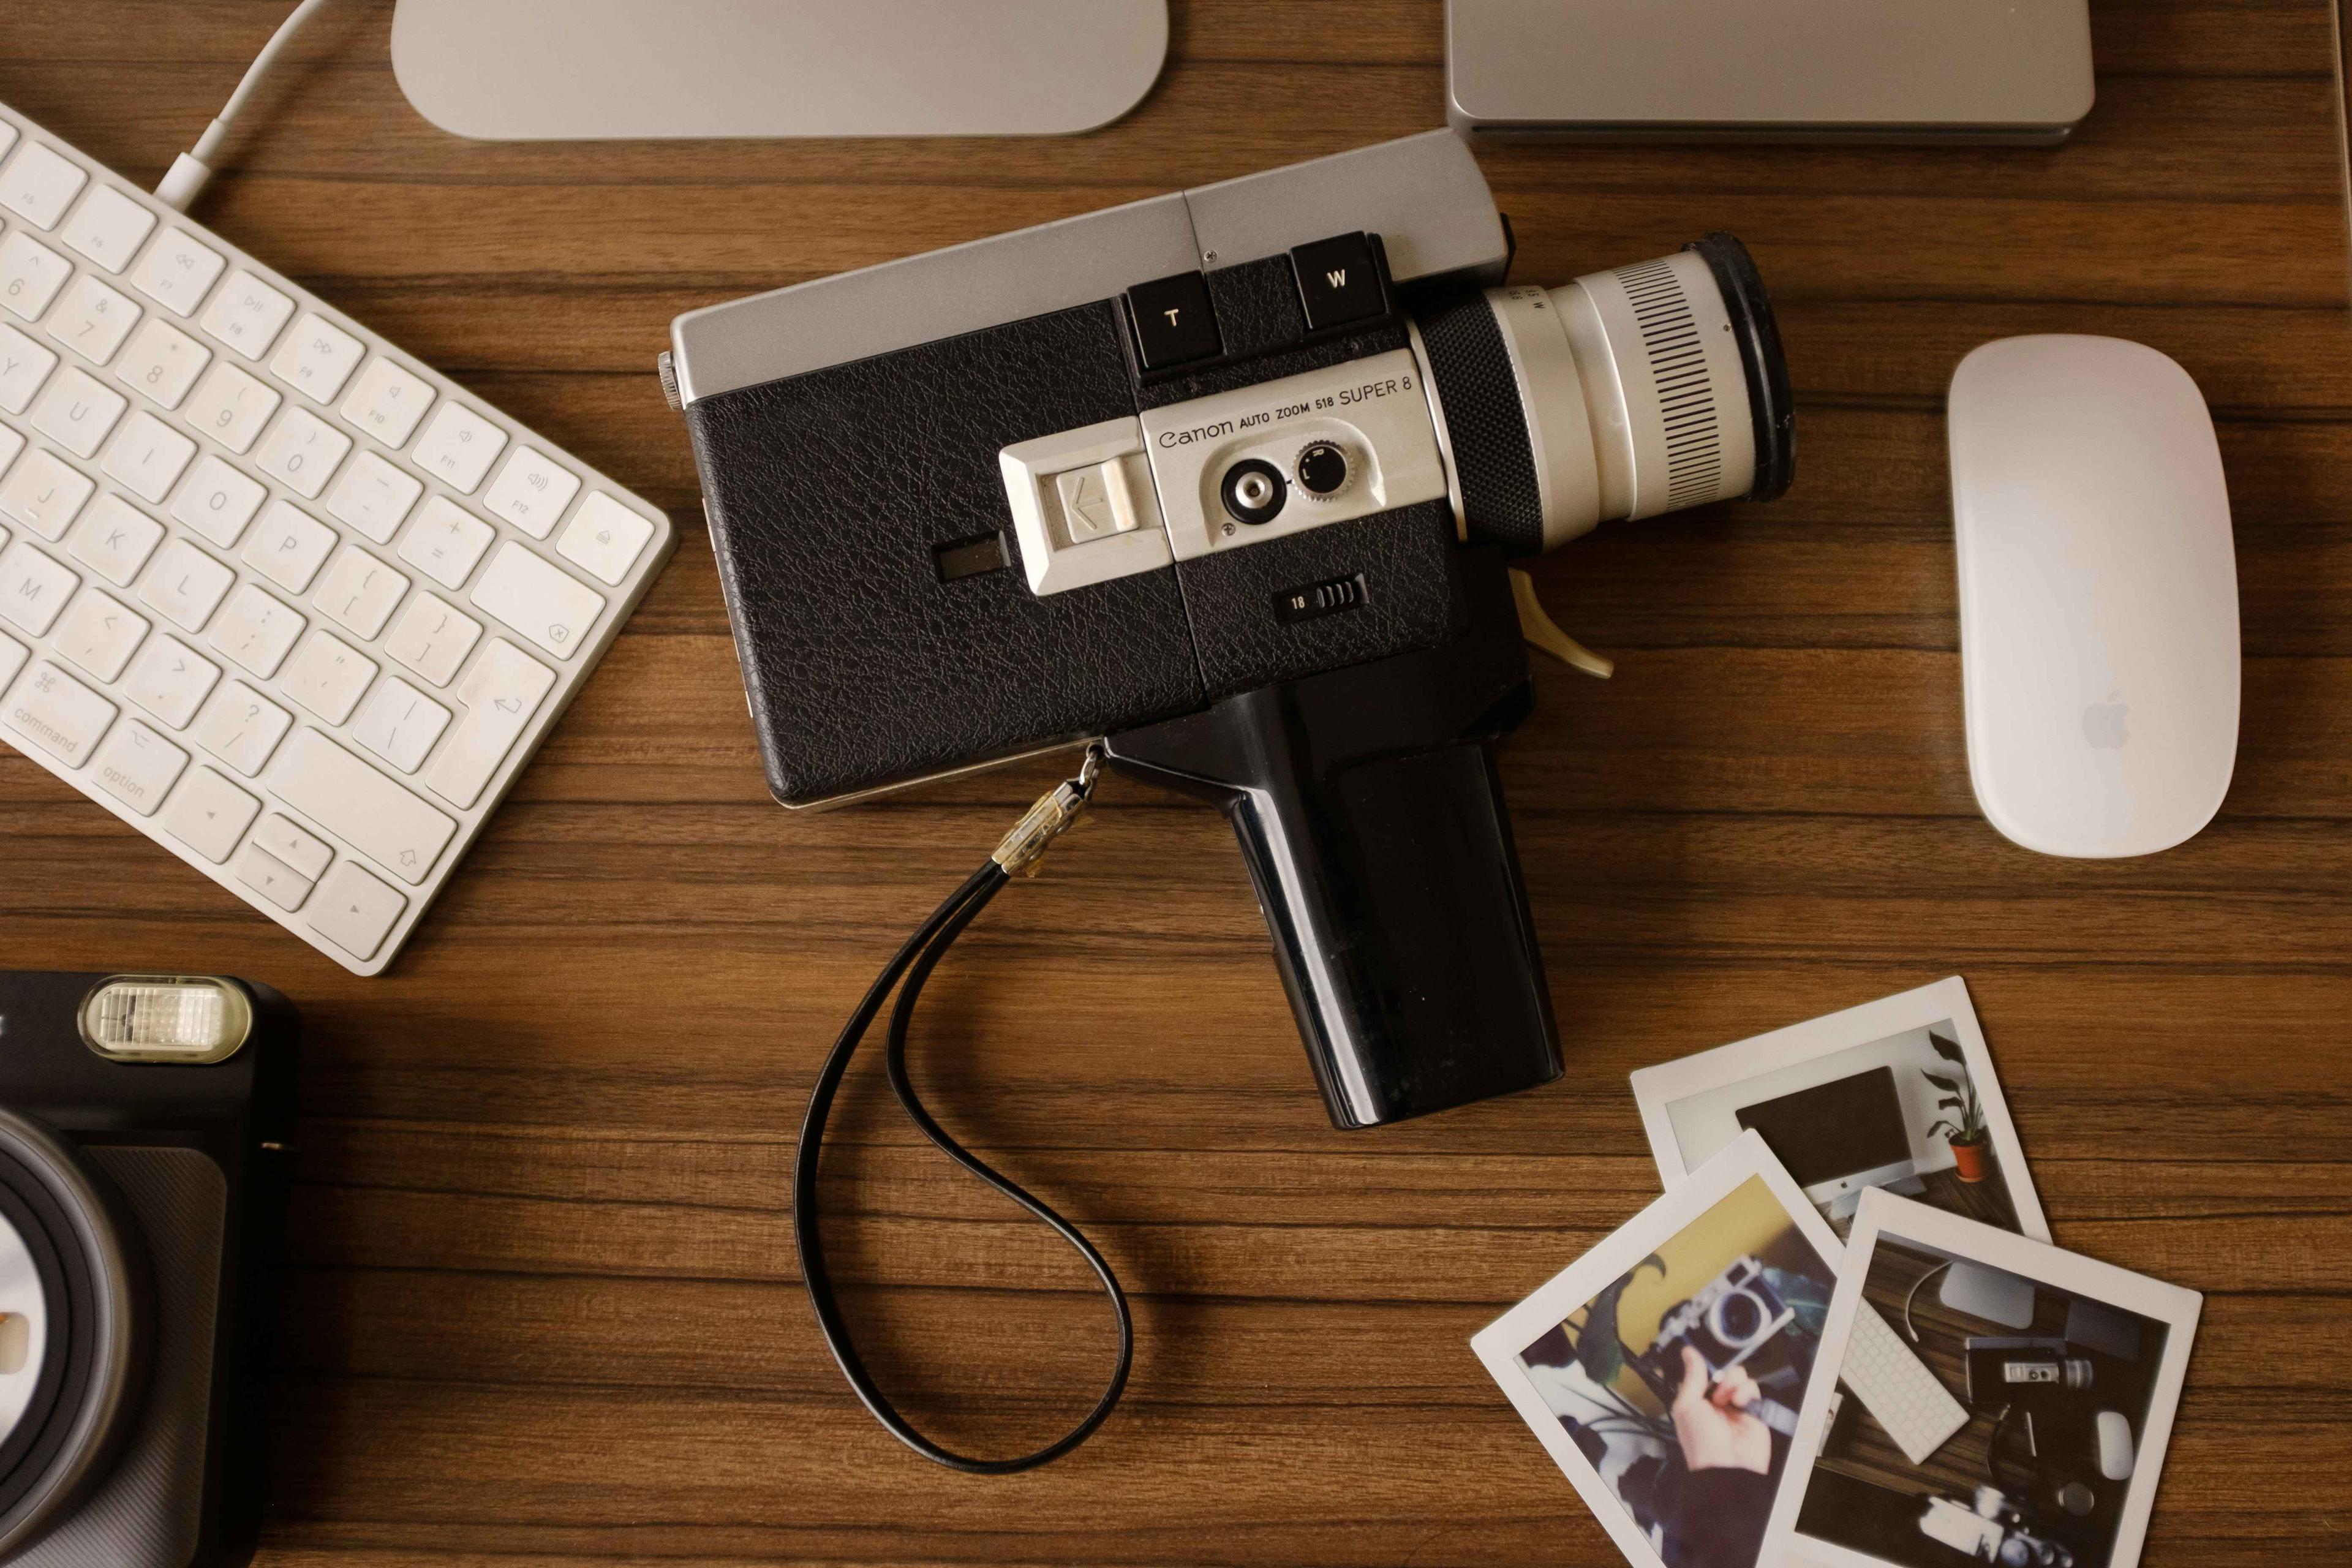
- Camcorder: The device you used to record the tapes.
- Tapes: The tapes you want to digitize.
- USB Video Capture Device: This device bridges your camcorder to your computer and is used if you’re using an USB cable.
Cables: Typically, a firewire cable and a thunderbolt-firewire adaptor if your computer doesn’t have a firewire port but if you really need to use a USB cable and AV cables (RCA or S-Video) you can do so.
Setting Up:
Using USB Cable
- Plug the AV cables into the camcorder and the USB video capture device.
- Insert the USB video capture device into your computer’s USB port.
- Turn on your camcorder and set it to playback mode.
Using Firewire Cable
- Connect your camcorder to your computer using the firewire cable. If your computer doesn’t have a firewire port, you’ll need a thunderbolt-firewire adaptor.
- Make sure all connections are secure to avoid disruptions during the digitization process.
4. Installing Lifeflix
With your equipment connected, it’s time to install Lifeflix on your computer. Here’s how:
- Head to the Lifeflix website and download the latest version of the software.
- Open the downloaded file and follow the on-screen instructions to install Lifeflix on your computer.
- Once installed, open Lifeflix.
Installation is straightforward and typically takes just a few minutes.
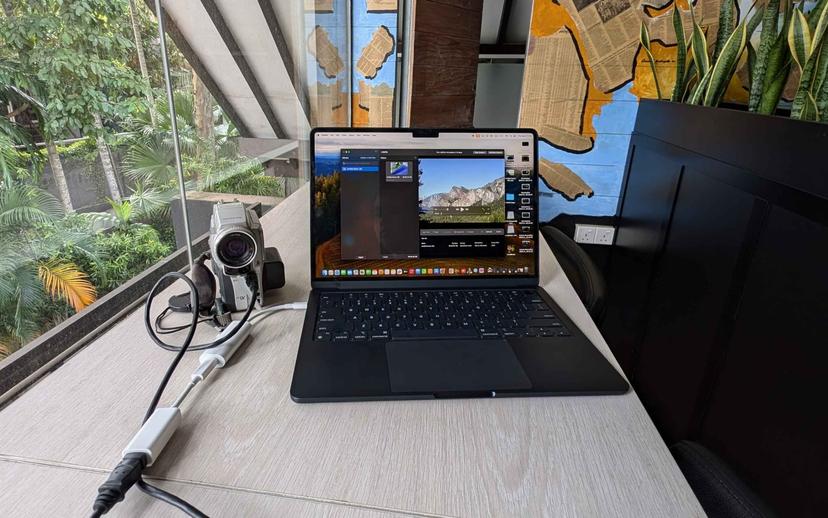
5. Connecting Your Camcorder
Now that Lifeflix is installed, let’s get it connected to your camcorder.
- Start the Lifeflix application.
- Make sure your camcorder is connected and turned on. Lifeflix should automatically detect the device.
- f you see a list of devices, choose your camcorder from the options
6. Capturing Video
Here comes the exciting part-capturing your footage from tape to digital format.
- Insert the tape you want to digitize into your camcorder.
- Start playing the tape on your camcorder.
- On Lifeflix, click the "Capture" button to start recording the video.
- Monitor Progress: Watch the video as it’s being captured in real-time on Lifeflix.
- Stop Capture: When you’ve got all the footage you need, click "Stop." Lifeflix will save the video to your library.
Capturing is done in real-time so a 60-minute tape will take approximately 60 minutes to digitize.
7. Editing Your Videos
Now that your video is digitized, it’s time to for a little editing:
Basic Editing:
- In the Lifeflix library, choose the video you want to edit.
- Trim: Use the trim tool to remove unwanted parts from the beginning or end of the video.
- Split: Divide the video into smaller segments if necessary.
Advanced Editing:
- Add Titles: Use the "Titles" tab to add text overlays such as names, dates, or captions to your video.
- Transitions: Apply smooth transitions between clips for a professional touch.
- Adjust Colours: Fine-tune the brightness, contrast, and saturation to enhance your video’s visual quality.
Editing is where you can get creative, making your videos look polished and professional.
8. Managing Your Video Library
As you digitize more tapes, keeping everything organized will help you find what you need quickly.
- Organize: Create folders and subfolders to categorize your videos by date, event, or theme.
- Rename: Rename your videos for easier identification.
- Tagging: Add tags to videos, making searches more efficient.
A well-organized library means more time enjoying your videos and less time looking for them
9. Restoring Digitized Tapes
Lifeflix provides restoration tools to enhance the quality of your old footage. Here’s how to restore it:
Basic Restoration:
- Stabilize: Use the stabilization tool to reduce any shakiness.
- Noise Reduction: Apply noise reduction to eliminate grains and other visual noise.
Advanced Restoration:
- Colour Correction: Restore faded colours with advanced colour correction tools.
- Audio Enhancement: Improve audio quality by reducing background noise and adjusting volume levels.
A little restoration can make a world of difference, bringing your footage closer to its original glory.
10. Exporting and Sharing Your Videos
Once your video is edited and restored, it’s time to share it with the world.
- Choose your export settings (resolution, format, etc.).
- Click the "Export" button to save your video to your computer.
- Lifeflix lets you share directly to social media platforms or via email
Sharing your videos digitally means family and friends can enjoy those moments no matter where they are.
11. Common Issues
Sometimes things don’t go as planned. Here are solutions to some common problems
Camcorder Not Detected
- Solution: Check that all cables are securely connected and that your camcorder is powered on. Trying a different USB port might also help
Video Quality Issues
- Solution: Double-check your capture settings and make sure you’re using the highest quality settings available.
Audio Sync Issues
- Solution: Use the audio sync tool in Lifeflix to align the audio with the video
If you run into any issues, don’t stress. With a bit of patience, you’ll have those problems sorted out in no time but if you’re still having problems, contact Lifeflix’s helpful support team.
By following this comprehensive guide, you should be able to successfully convert your old tapes to a digital format.
Most Popular
Join Our LifeFlix Community
Enter Your Email Address to Sign Up for Exclusive Updates!
Own your
memories
forever
withLifeFlix!
Related Guides
Using LifeFlix on Older macOS Versions
Use LifeFlix on older macOS versions with these downloads and activation steps.
Read More ➜
LifeFlix Version 5
Lifeflix v4.2.5 simplifies digitizing and editing old tapes with intuitive tools, advanced features, and easy importing for preserving your memories.
Read More ➜